Materials Needed:
-Highlighter or ring mandrel (the mandrels can be somewhat expensive, so I use a highlighter...because I have small fingers, this works for me, but the width of the highlighter should be tested before making rings so it fits your finger. Just wrap a small piece of wire to around the highlighter to make sure that it fits around your finger before starting the project, making it slightly larger than needed to allow room for the wire).
-Wire (I used silver-plated), about 30 inches
-Button/bead to use in center of ring. Make sure the hole in the bead is wide enough to put the wire through
-Wire clippers, crimper tool, and chain nose pliers
 |
| Here are all of the materials needed. |
1. Wrap wire in half around highlighter


 |
| I used a Citrine stone |


 |
| You can use the pliers to wrap the wire more tightly around the ring. |

 |
| Here is the completed Citrine ring, and below are some of the other rings I have made using the same method. |
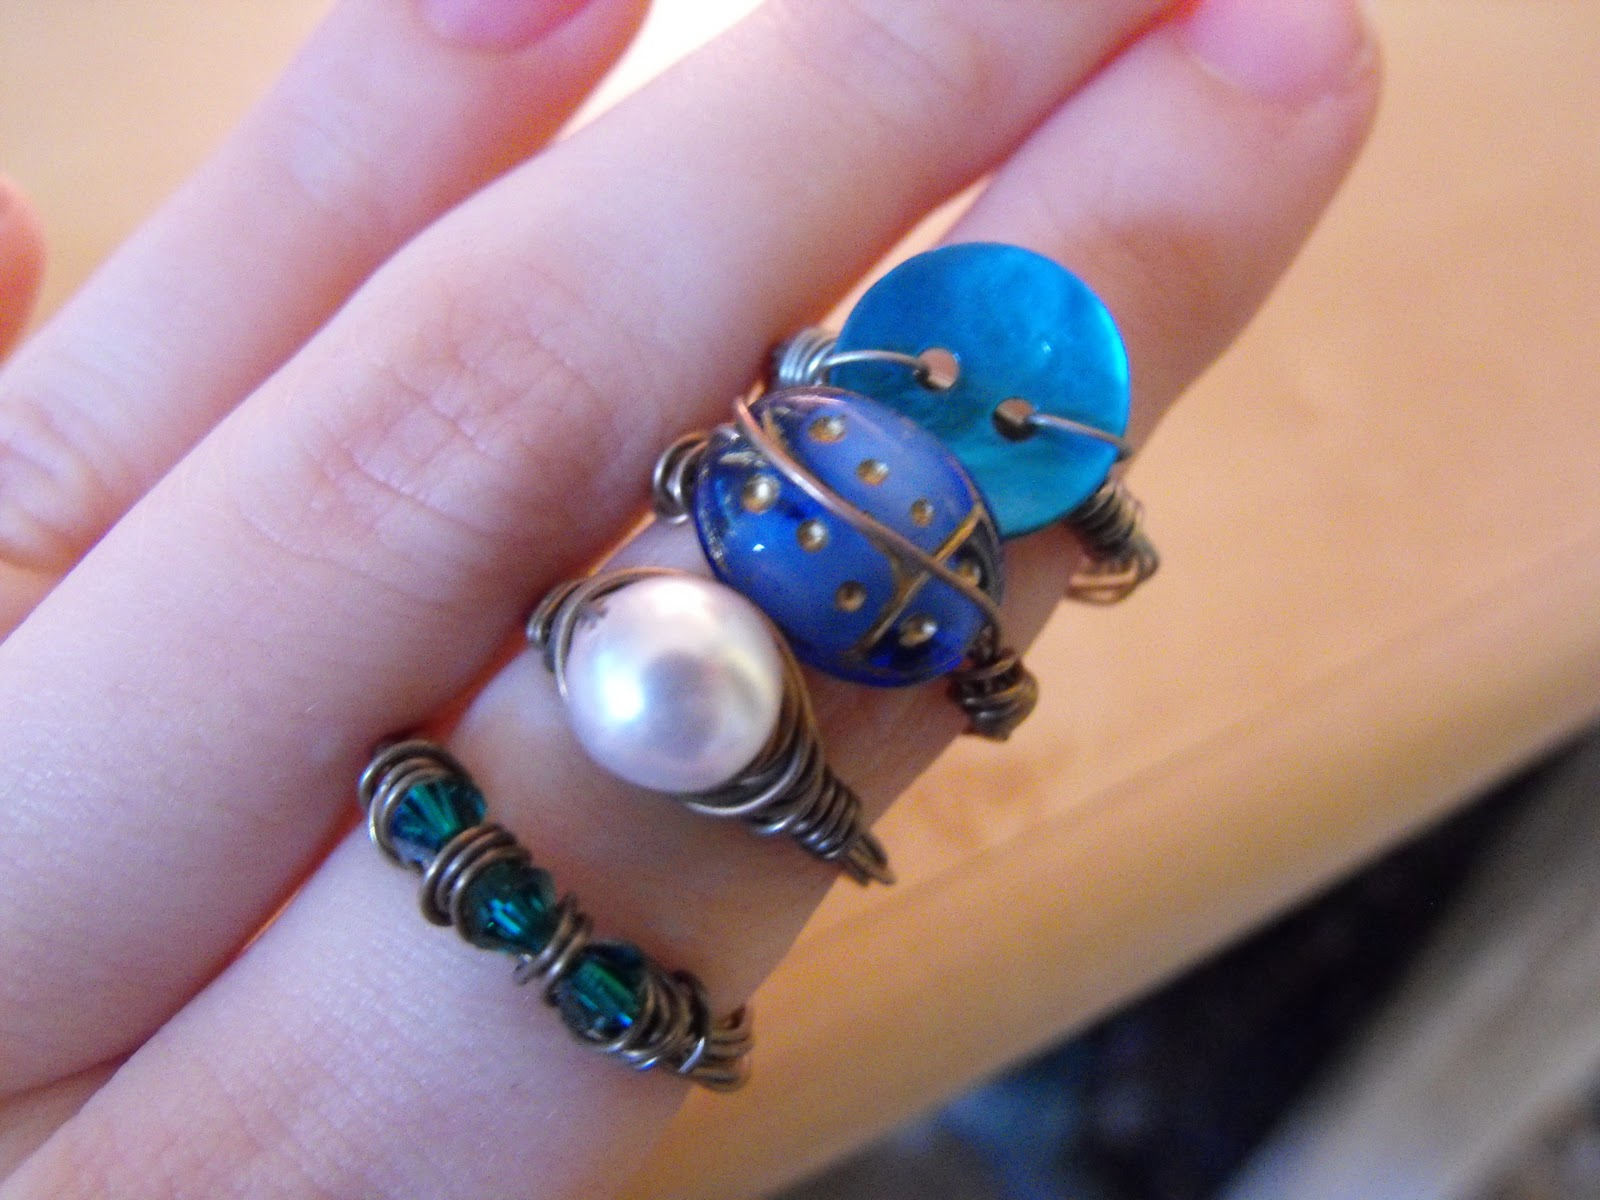 |
| From the top down: button ring, ladybug glass bead ring, freshwater pearl, and Swarovski crystal ring |
 |
| I used a gold-toned wire for these rings and a black bead. You can also make rings solely using wire. |
I love these! I want one!
ReplyDeleteYour photography is pro
ReplyDelete